Pepper Jelly 101: A Simple Guide to Canning Your Own Spicy-Sweet Condiment
The Starving Chef is supported by Hungry People like you. When you make a purchase through an affiliate link on my site, I may earn a little bit of cash on the side (at no extra cost to you) to help keep my kitchen running. Read our disclosures here.
What’s Up, Hungry People!
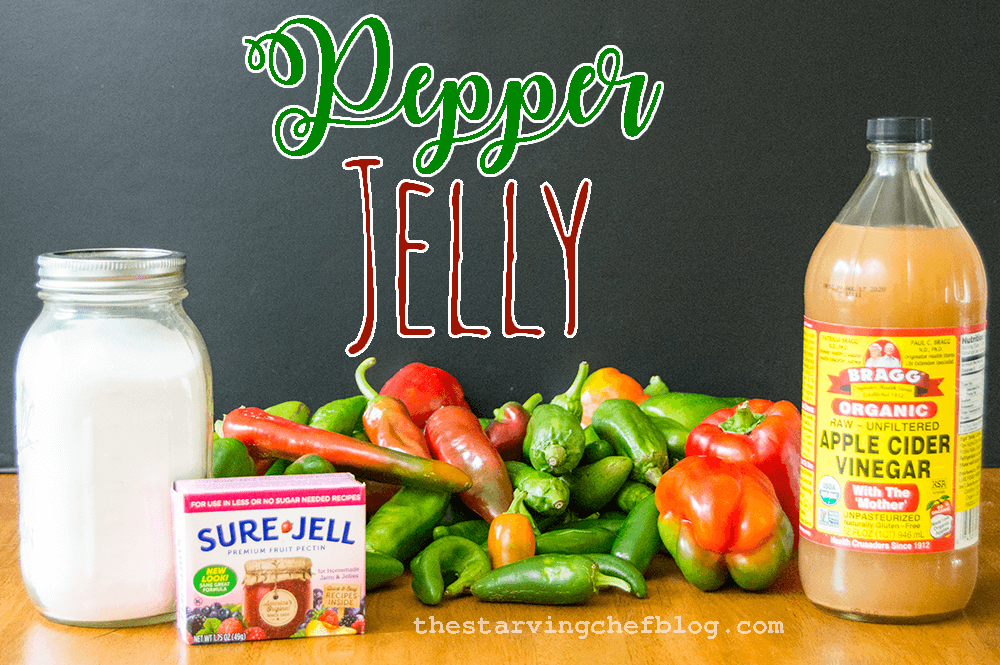
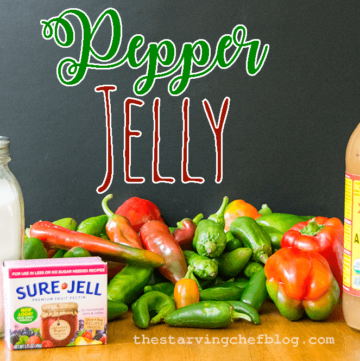
Sad times—gardening season is wrapping up. A few weekends back, I took down the garden fortress and came out with a pretty decent haul. Just don’t tell my last straggling tomato plant that’s still trying to give birth to some baseball-sized tomatoes, okay? But the real story here? Peppers. Loads of them. I’m talking eight pounds of peppers, from tongue-numbingly spicy to sweet-as-candy. So, what do you do when life (or your garden) hands you peppers? Make homemade pepper jelly, of course!
Here’s What You Need
- Jalapeños, red peppers, habaneros, and Cubanelles: These peppers make up the base of your jelly, offering a mix of sweet, mild, and spicy flavors.
- Sugar: This sweetens the jelly and helps balance the heat from the peppers.
- Apple Cider Vinegar: Adds acidity and tanginess, which preserves the jelly and complements the peppers’ flavors.
- Pectin: Acts as a gelling agent to give your pepper jelly the right texture and consistency.
How I Dove Into Canning Without A Clue
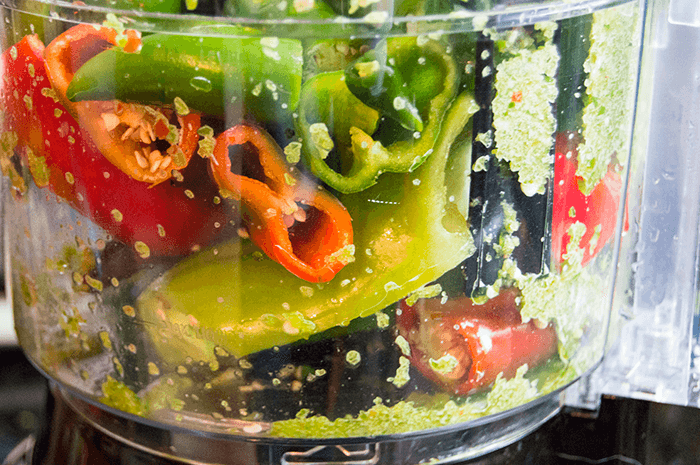
Canning. Never done it. Barely equipped for it. But that didn’t stop me. Rather than splurge on some high-end canner or extra gadgets I didn’t need, I got down to business with a hot water bath. Trust me, it’s doable, but patience is a virtue here. First thing’s first: I got those peppers into my trusty food processor. Quick side note: I had so many peppers I had to blitz them in not one, not two, but FOUR batches. Yep.
The Peculiarities of Pepper Puree and Pectin
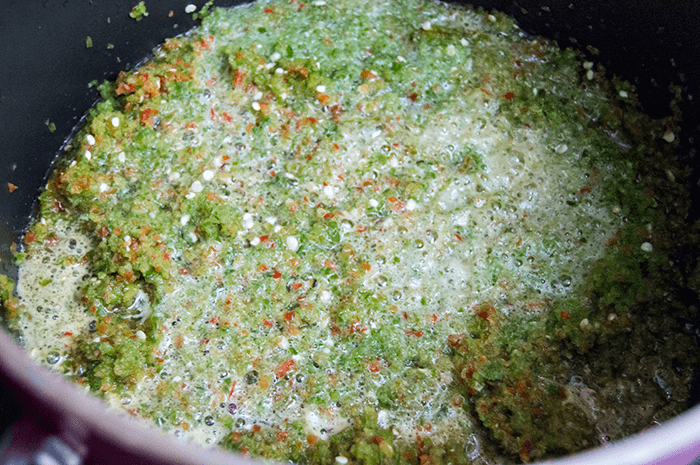
So after my marathon pureeing session, I simmered those peppers with apple cider vinegar, sugar, and pectin. I let that mixture bubble and heat up for a good 20-30 minutes. But get this—I only read the pectin box after doing all this, which had very strict guidelines about not making more than eight cups of jam or jelly at a time. Looking at my cauldron of 20-plus cups of pureed peppers, I thought, “Oops.” But hey, my jelly turned out great, so either I discovered a loophole or luck was on my side.
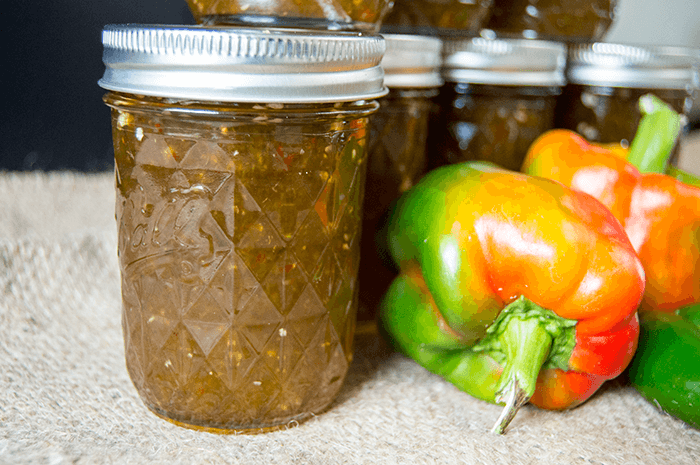
Sterilized Jars and Patience
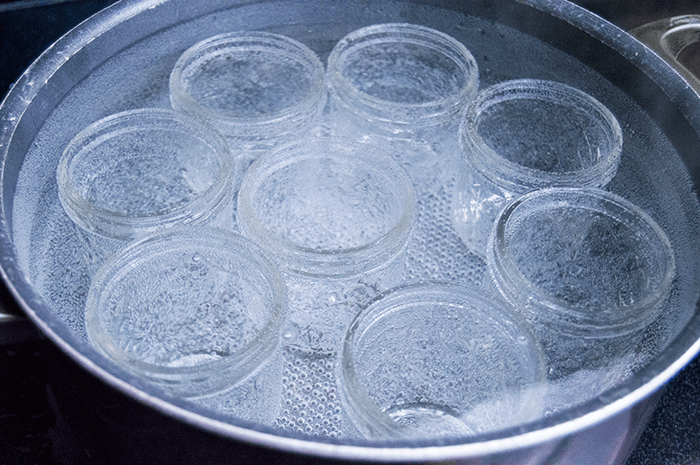
While my peppers were simmering away, I was busy sterilizing jars. Because remember, hot jelly goes into hot jars, and cold stuff goes into cold jars. You definitely don’t want to hear the sound of a jar cracking—that’s not the kind of “pop” we’re going for here. To be extra cautious, I transferred the sterilized jars to a warm water tub that came halfway up their sides. Then, I ladled my pepper jelly into a Pyrex measuring cup with a pouring lip to avoid any spillage on the jar rims. Lids on, rings screwed tightly, and we’re almost there.
The Hot Water Bath: 140°F and Fingers Crossed
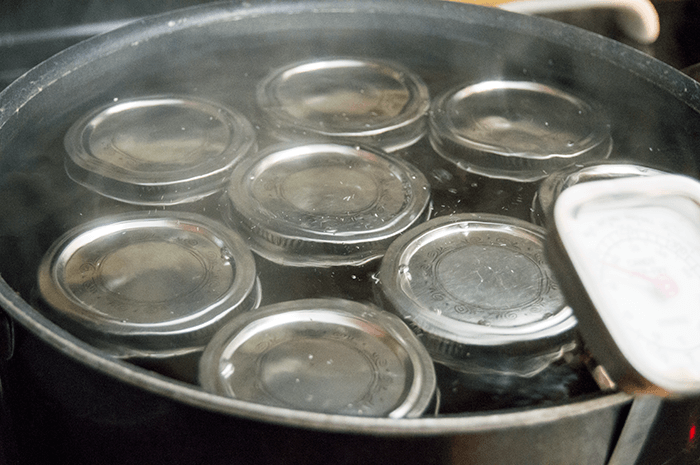
Next, it was hot water bath time at 140°F, people. I let my jars sit in there for about 30-40 minutes, keeping a hawk-eye on both them and the water temperature. I also checked the lids regularly to ensure they were sealing like they should. Spoiler: a couple didn’t, which meant back into the hot water bath they went. A properly sealed jar’s lid shouldn’t have any give or make a “pop” sound when you press down on it.
Secrets to Nailing Your Simple Homemade Pepper Jelly
- Sterilization is Key: Always sterilize your jars, lids, and any equipment that will touch the jelly. It prevents bacteria growth and ensures a longer shelf life for your jelly. To sterilize, simply boil them in water for 10 minutes.
- Puree Consistency: The food processor does a quick job of pureeing the peppers, but you can control the consistency based on your preference. If you like a smoother jelly, you can strain out the seeds and chunks.
- Sealing the Jars: Make sure the jar lids “pop” down after cooling, which indicates a good seal. If they don’t, you’ll need to reprocess those jars. A good seal is crucial for long-term storage.
- Temperature Watch: Keep an eye on the water bath’s temperature. Maintaining a steady 140°F ensures proper canning without overcooking your jelly. Use a kitchen thermometer for accuracy.
- Pectin Patience: If the jelly seems too runny, don’t fret. Pectin can take up to 24 hours to set. If it still doesn’t set, you can always re-cook the jelly with an additional packet of pectin.
- Flavor Variations: Feel free to play around with different types of peppers or even adding a splash of fruit juice for a different flavor profile. Just keep the total weight of the peppers the same to ensure proper setting.

Pepper Jelly and Unexpected Pairings
So how did I enjoy my pepper jelly harvest? Slathered on some naan, and it was bliss. My boss, on the other hand, mixed his with black-eyed peas—something I’d never even considered. And now? Let’s just say I’m curious enough to give it a shot.
Alright, Hungry People, you’ve heard my trials and tribulations of delving into the world of canning and coming out the other side with jars of pepper jelly to show for it! If I can navigate the high stakes game of sterilization and the pectin rule book, so can you. Plus, you get the bonus of finding new, quirky ways to enjoy your pepper jelly—I’m already eyeing those black-eyed peas.
Don’t worry if your jelly is more like a salsa; we’ve got troubleshooting tips for that too. Remember, the kitchen is your playground, and sometimes you’ve got to break a few rules to create something fantastic. Enjoy!
Simple Homemade Pepper Jelly
Equipment
- mason jars with lids and rings for canning
Ingredients
- 8-10 lbs jalapenos, red peppers, habanero & cubanelle from home garden
- 4 cups sugar
- 1 cup apple cider vinegar
- 1 package pectin
Instructions
- Fill a large pot halfway with water. Add the glass mason jars to the pot and fill them completely. Bring the water to a rolling boil to sterilize the jars. Remove the jars carefully from the boiling water and place them in a hot water bath that comes up about halfway on the jars. Sterilize the rings and lids in the boiling water and repeat as needed. Use sterilized tongs to transfer the items to and from the water bath. Keep the water in the pot.
- Use a food processor to puree the peppers. Transfer the pureed peppers to another large pot set over medium-high heat. Add the apple cider vinegar, sugar, and pectin. Bring the mixture to a simmering bubble, then remove it from the heat. (OPTIONAL: Strain the mixture to remove seeds or large chunks of pepper.)
- Ladle the pureed peppers into a measuring cup for easy pouring. Pour the pureed peppers into each jar, leaving about a half-inch of space at the top.
- Place the lids on each jar and screw on the rings tightly—be careful, the jars will still be very hot. Use sterilized tongs to transfer the filled jars back into the water bath. Make sure the jars are submerged in the water.
- Bring the water bath temperature up to 140°F. Monitor the jars closely. Let them stay in the water bath for 30 to 40 minutes or until the tops no longer pop when pressed. Any jars with popped tops should be put back into the water bath until properly sealed. Remove the jars from the water.
- Let the jarred jellies cool completely before handling. The pectin may take up to 24 hours to set properly, so don't worry if the jelly appears runny initially. If the jelly doesn't set, you can redo the process by pouring it back into a hot pot, adding more pectin, and repeating steps 3-5.
- Serve with cheese and crackers or gift it to your friends and family. Enjoy!